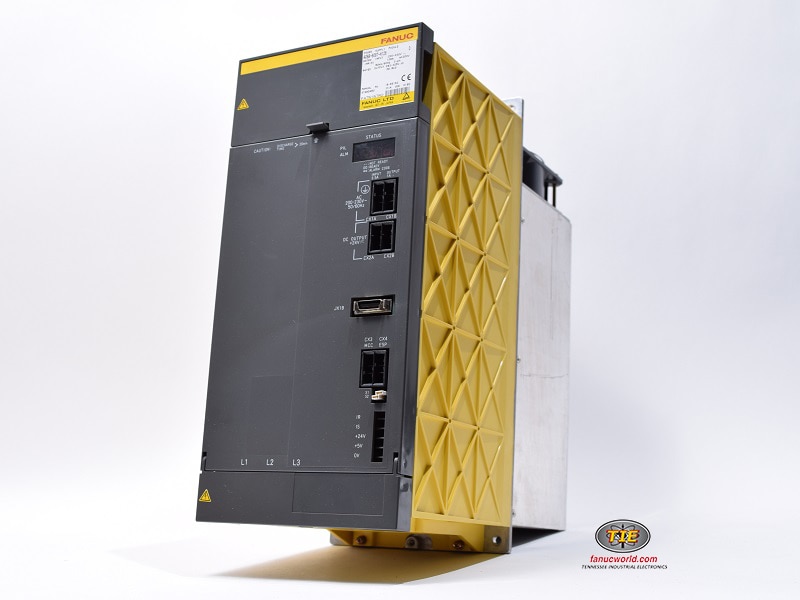
Alpha Power Supply Module Test: High Voltage
To make an Alpha Power Supply Module (regular voltage) show “_ _” on the display and 600 volts DC output across the buss:
Step 1
Kill power, let the charge lights go out, and then check for a DIRECT SHORT between the top and bottom buss bars.
Step 2
If you have a DIRECT SHORT, disconnect modules until the short goes away.
Step 3
If you do not have a DIRECT SHORT, follow the steps below.
Step 4
Be sure to measure the leg-to-leg AND leg-to-ground voltage into the power supply module.
If you do not have a DIRECT SHORT:
Step 1
Supply 3-phase input into L1, L2, and L3 bottom of power supply (400-480V AC leg-to-leg & 200-260V AC leg-to-ground).
Step 2
Supply 200 volts input into CX1A connector.
Step 3
Jumper out the top and bottom pins of the three pins on the CX3/MCC cable coming into the PSM.
Step 4
Jumper out the top two pins of the three pins on the CX4/ESP E-Stop connector on the PSM.
Step 5
Have all screws on the DC buss installed and tight.
With these things done you should have “_ _” on the display and 600 volts dc across the buss. If you do not, then replace power supply.
Get your Fanuc CNC machine back up and running.
TIE offers same day shipping on more than 100,000 Fanuc CNC parts in stock. We offer a 1 year in service warranty on all parts and repairs.
Shop PartsWas this helpful?
2 / 1